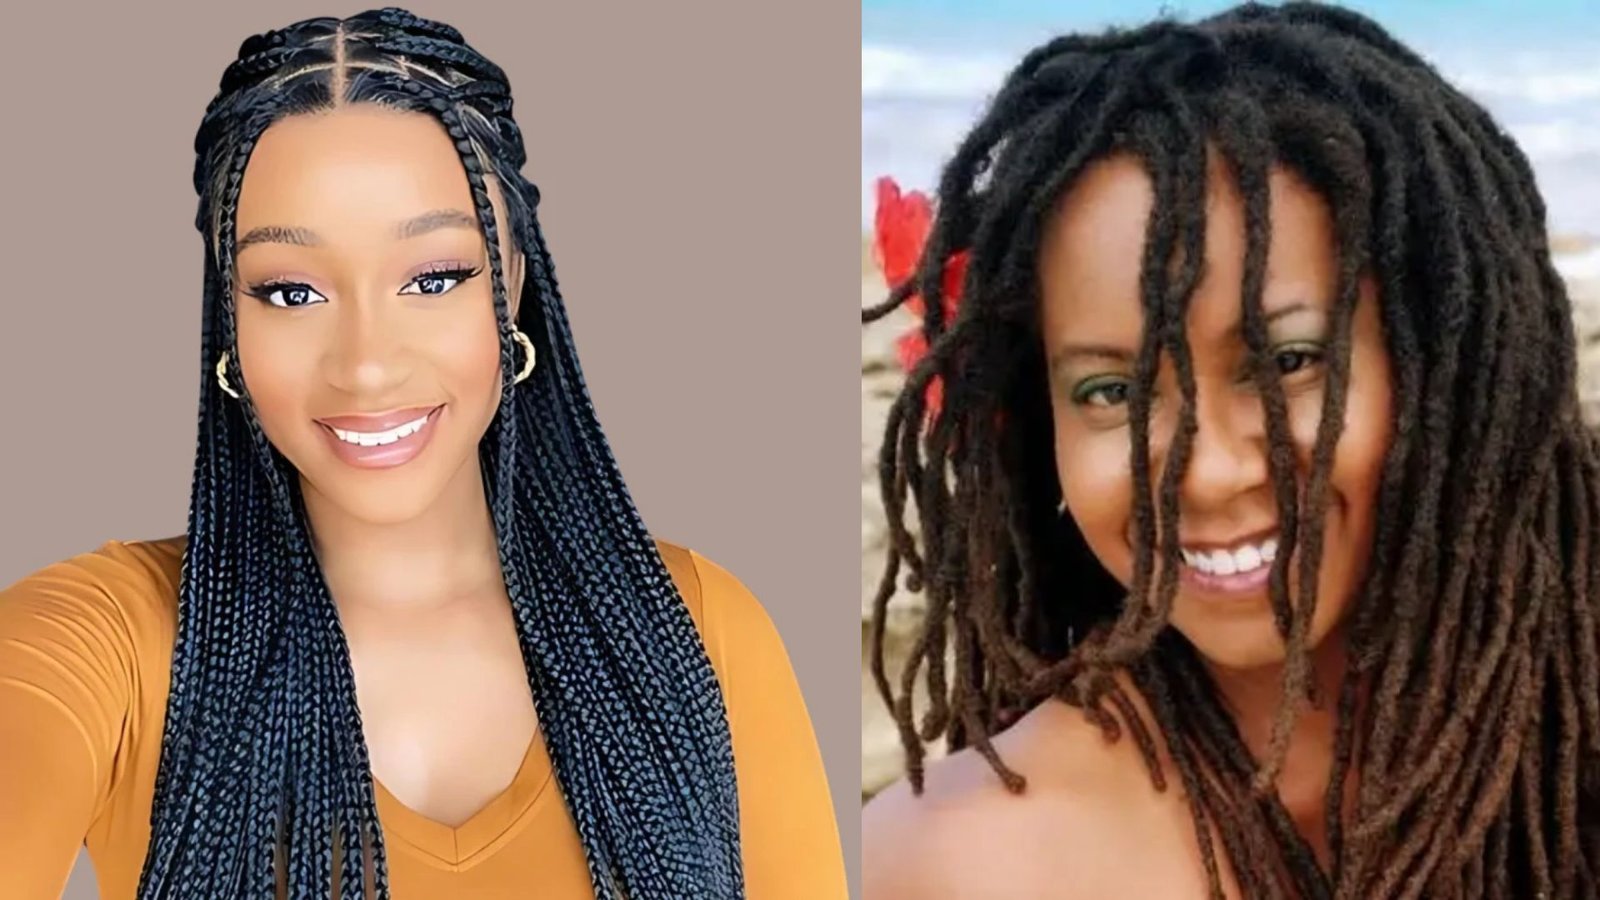


Imagine getting box braids or twists in just a few hours instead of spending the entire day in a salon.
Your scalp stays comfortable, your hairline stays intact, and the braids look completely natural. Invisible crochet braid patterns make this possible while saving time and keeping hair healthy.
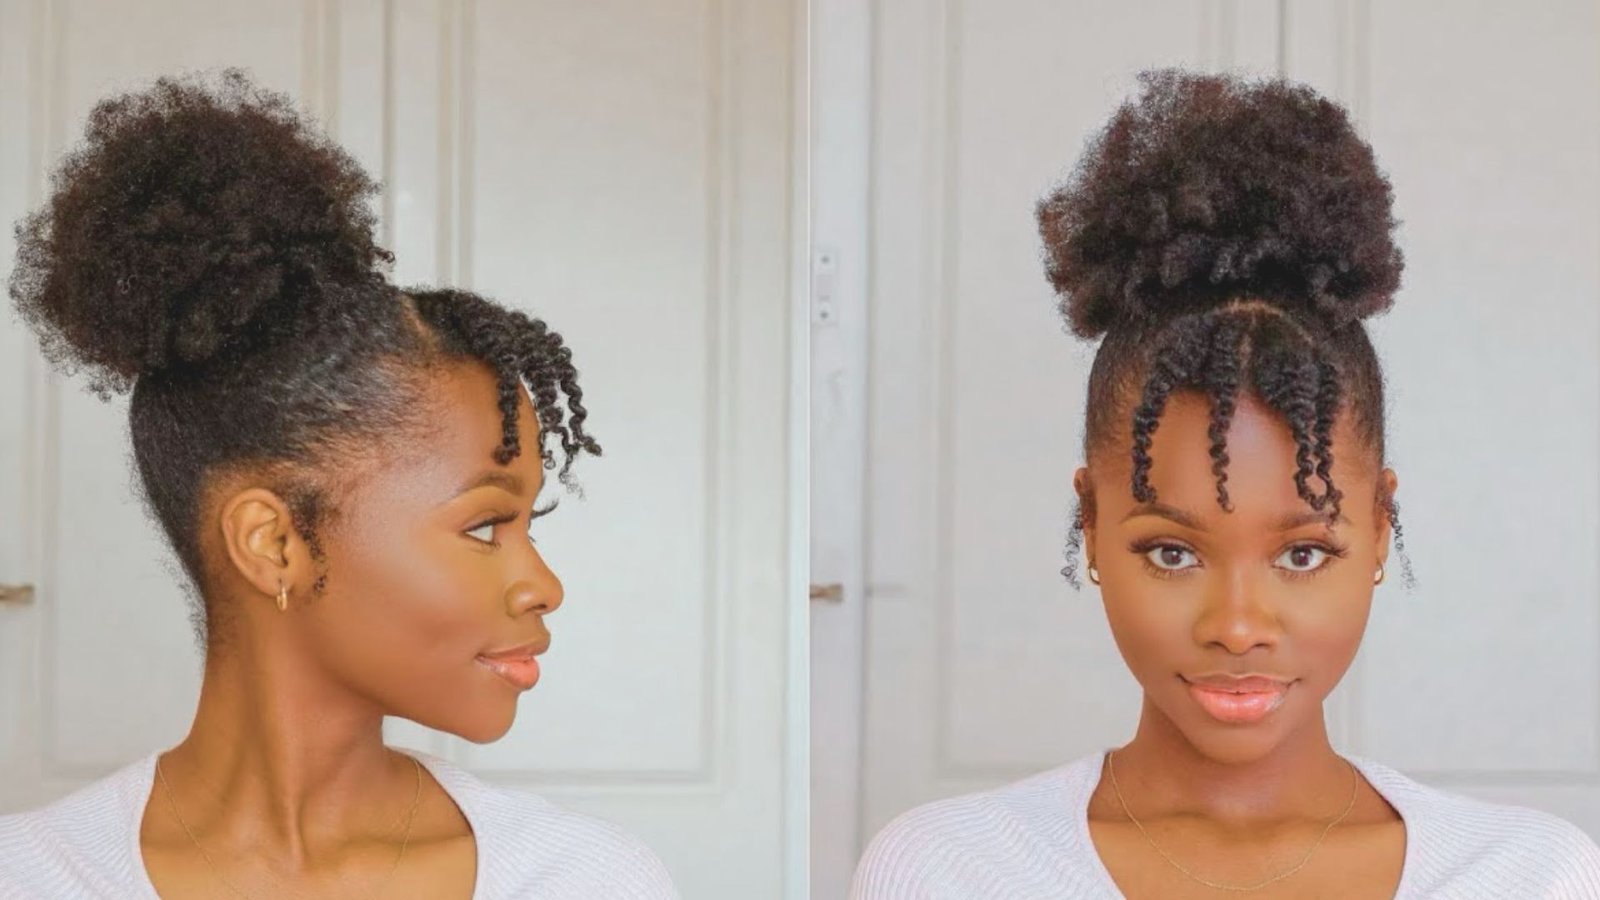
This style works for all hair types, from natural 4C to relaxed hair. It reduces tension on the scalp and allows you to have a smooth, seamless finish without choosing between your schedule and your look.
I tested multiple invisible crochet techniques and created a complete guide. You will learn the braidless method in under one hour, the single braid crochet in about three hours, and a combination approach.
Every step from preparation to takedown is explained so you can do it confidently at home.
What Are Invisible Crochet Braid Patterns?
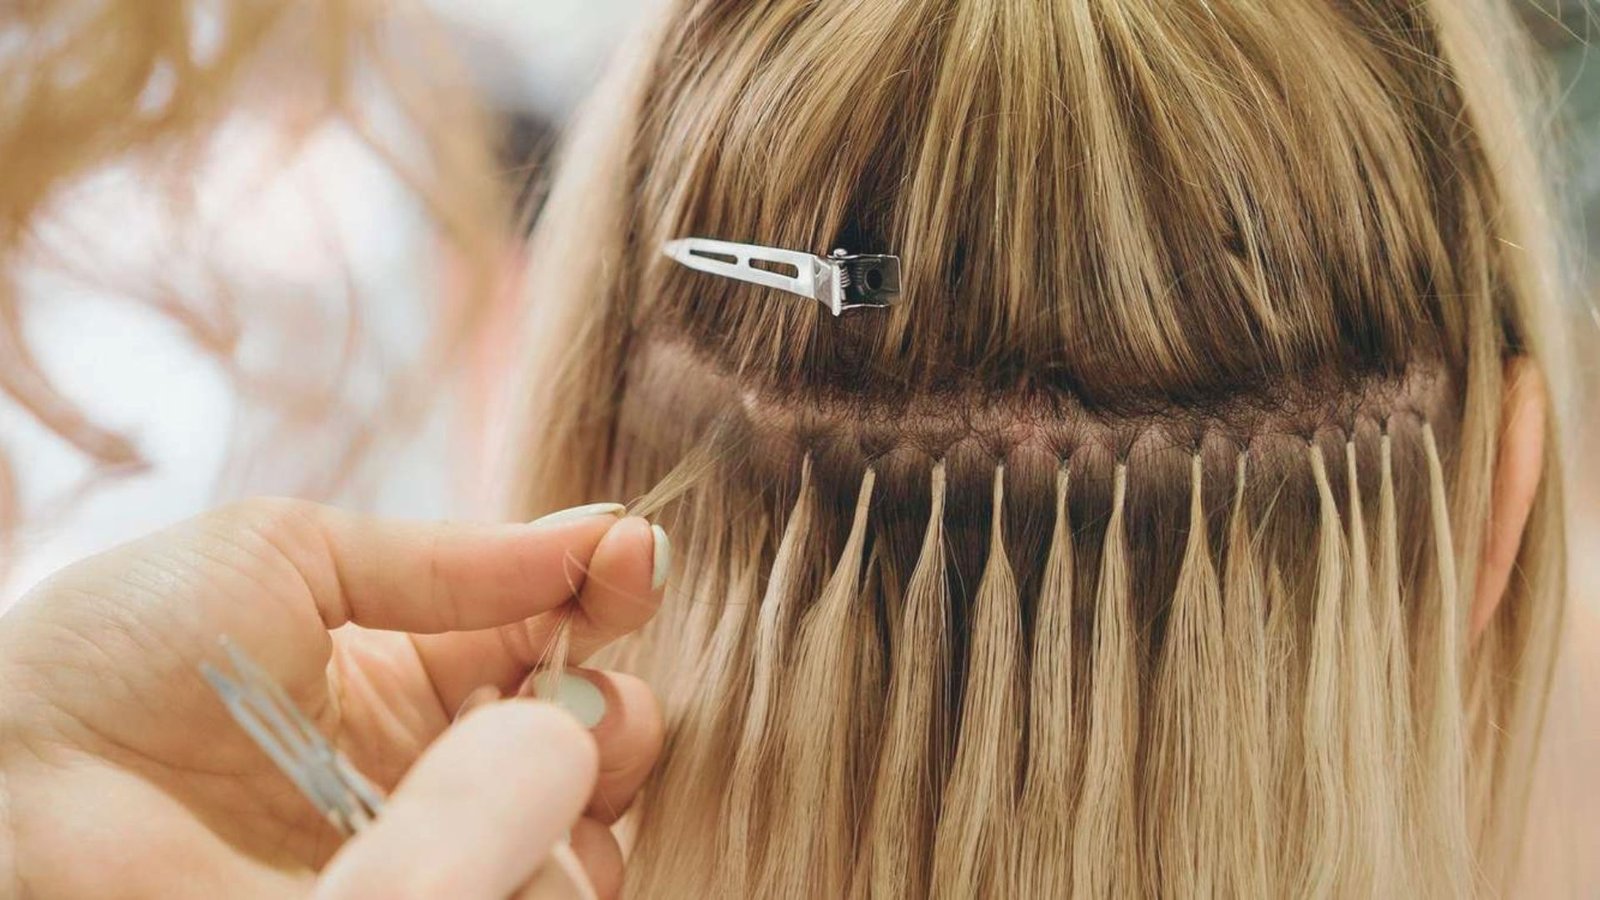
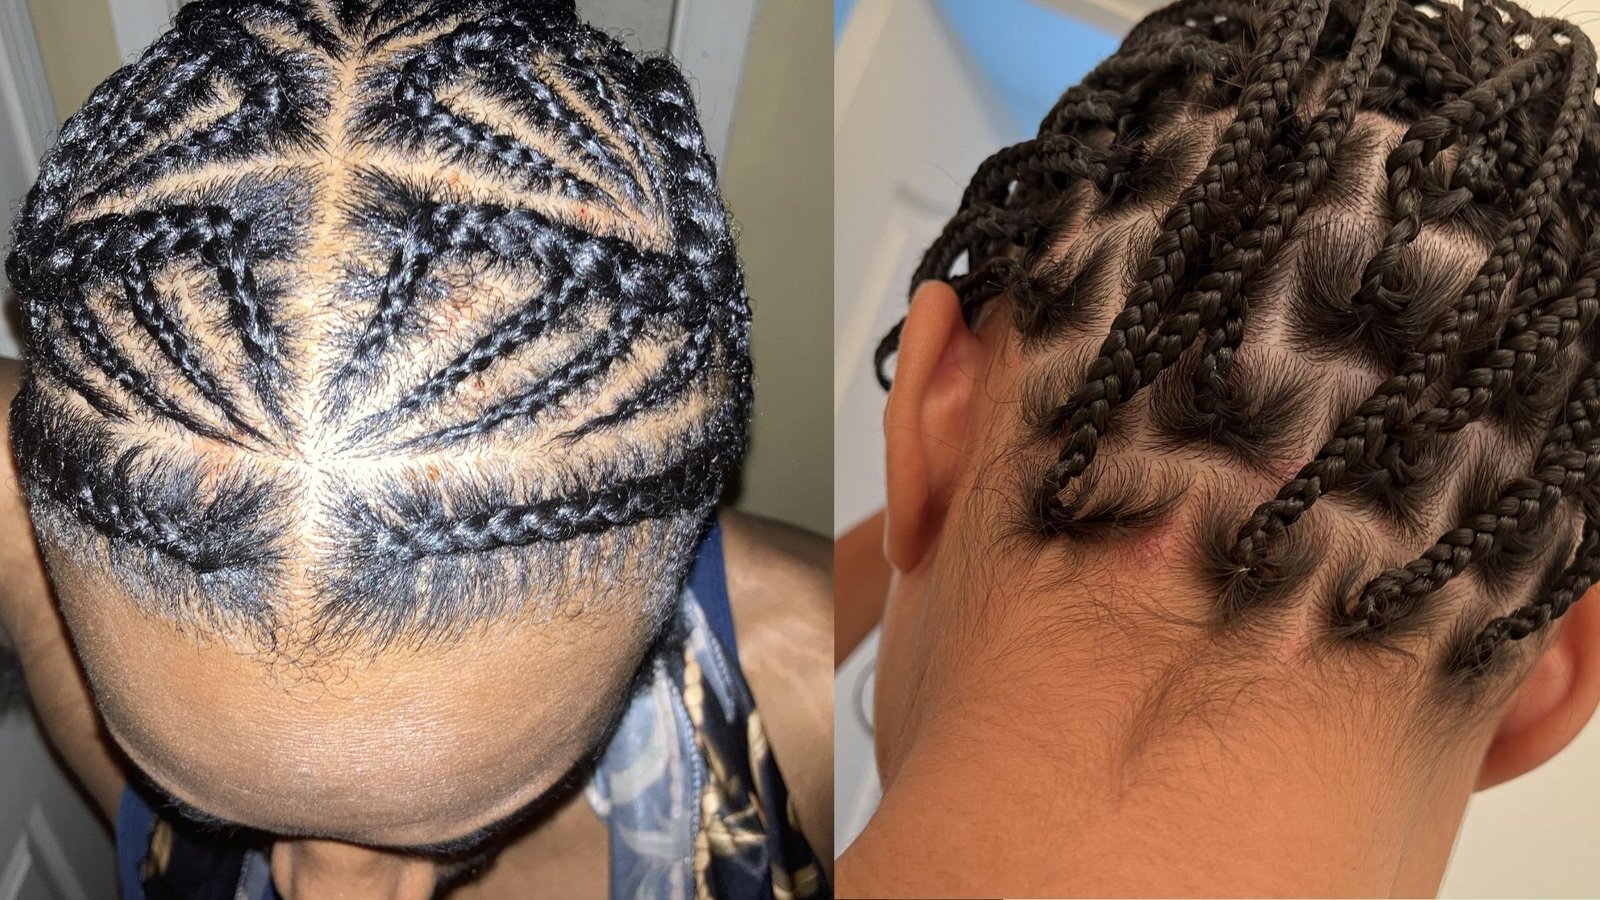
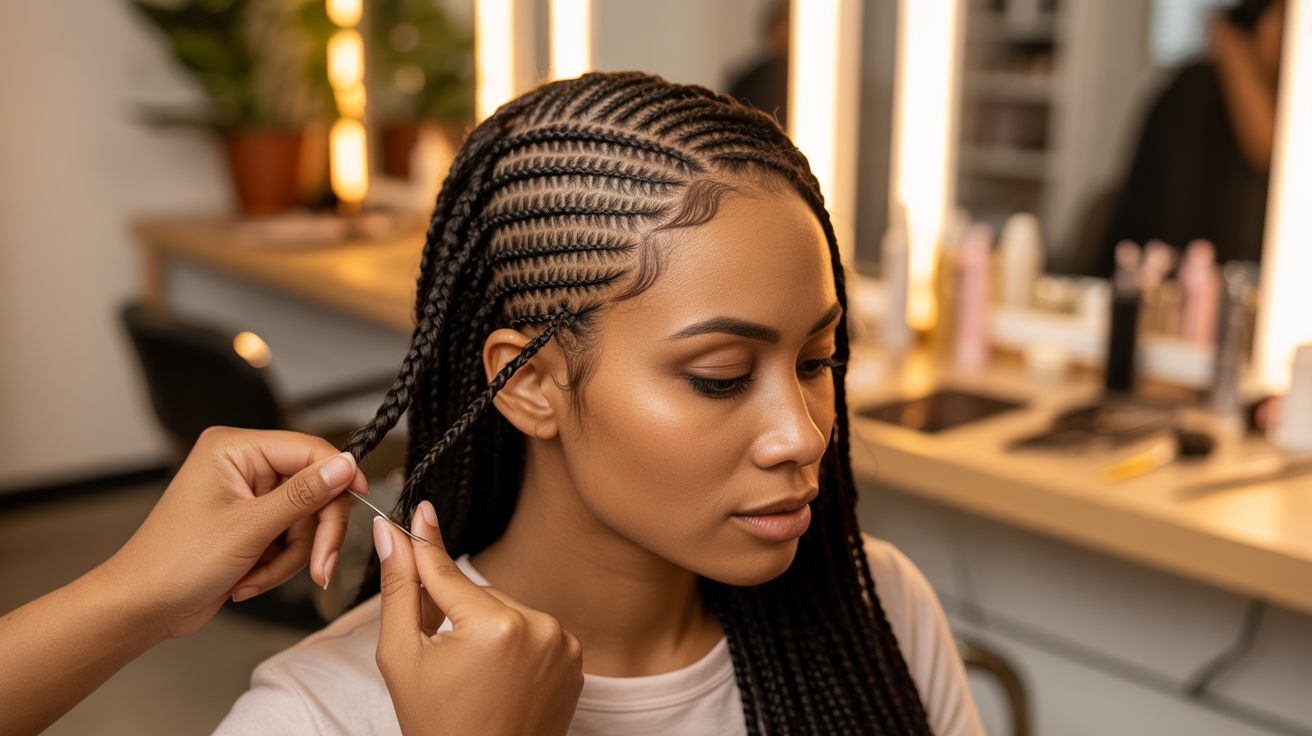
Invisible crochet braids revolutionize protective styling by attaching extensions to individual braids or secured sections, giving a natural-looking hairline and part.
Unlike traditional cornrow-based crochet braids, this method hides the base, making it seamless and realistic. You might also hear it called no cornrow or braidless crochet braids.
The benefits are impressive. Installation takes 1 to 3 hours instead of 6 to 7, reduces scalp tension, and lowers the risk of traction alopecia.
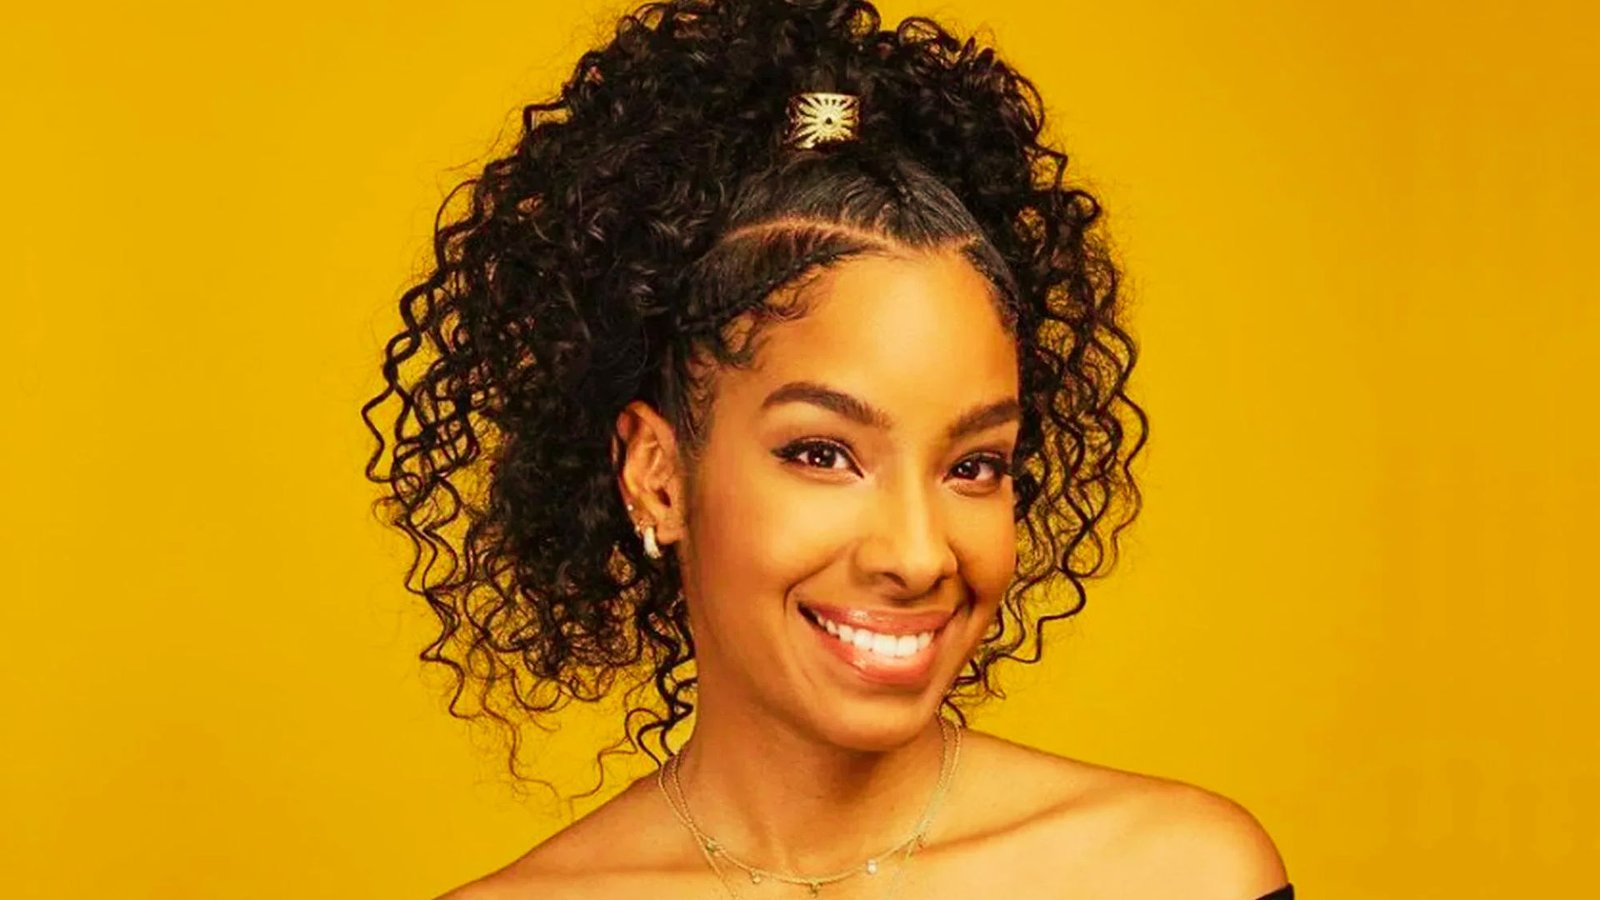
Other perks include a natural hairline, versatile styling, uniform color, less frizz, and even the ability to try a bob without cutting your hair.
Invisible crochet braids work on all hair types, including 4A to 4C natural hair and relaxed hair. They are perfect for those with thinning edges, anyone short on time, DIY enthusiasts, or anyone seeking protective styles without scalp stress, making them an ideal alternative to traditional box braids.
Types of Invisible Crochet Braid Patterns
Not all invisible crochet methods work the same way. I’ll break down four main techniques so you can pick what fits your hair, skill level, and time budget.
- The Braidless Method (Slicked Back): Hair is sleeked back into sections, and extensions are crocheted directly in, no braiding required. Installation takes 30 minutes to 1 hour.
- The Rubber Band Method: Hair sections are secured with rubber bands, and extensions are attached to them. Quick, but it can cause breakage and feel bulky.
- The Single Braid Method (Individual Braid Method): One braid per extension is created for precise placement and natural movement. Installation takes 3 to 6 hours.
- The Cornrow Singles Combo Method: Cornrows in the back save time while individual braids in the front create a natural hairline and part. Total installation takes 2.5 to 3 hours.
Tools and Materials You Need
Don’t start installing without gathering everything first. Running around looking for tools mid-install wastes time and tests your patience.
- Essential Tools: You need a crochet latch hook, rattail comb, hair ties or rubber bands, edge control or gel, scissors, spray bottle, and a handheld mirror for a smooth install.
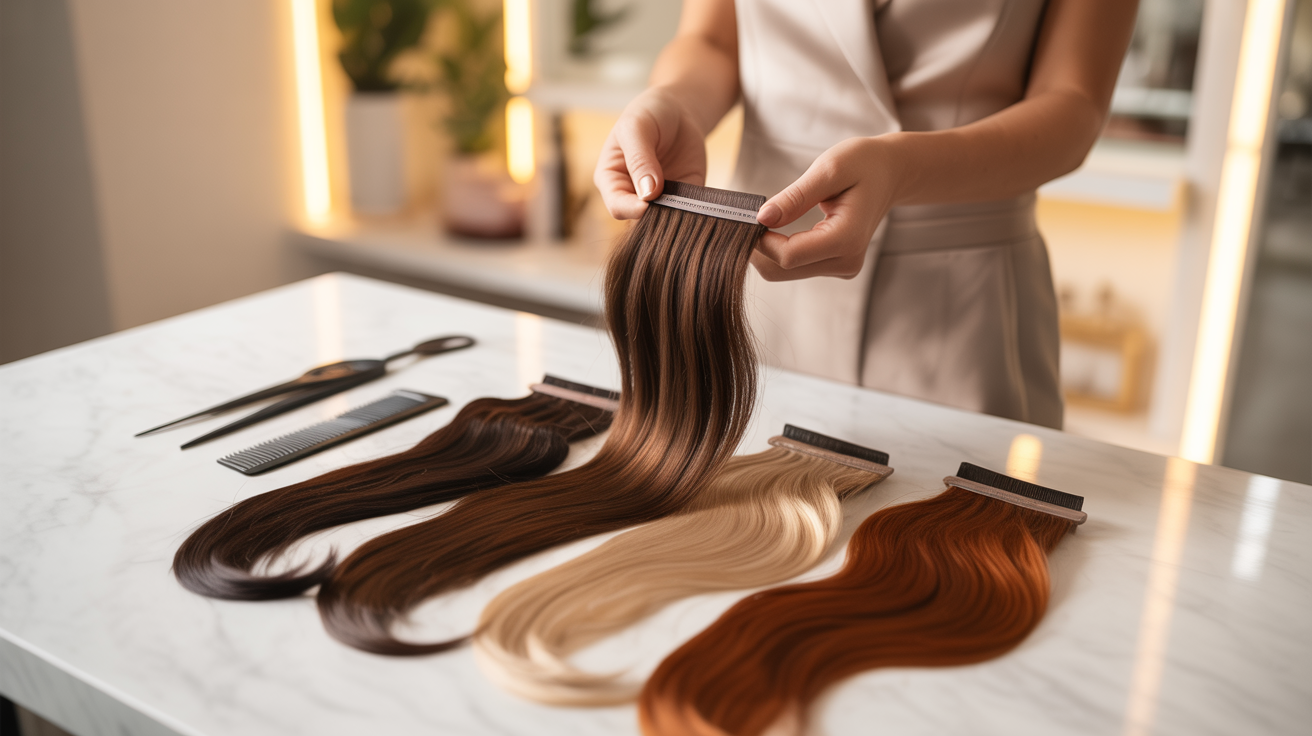
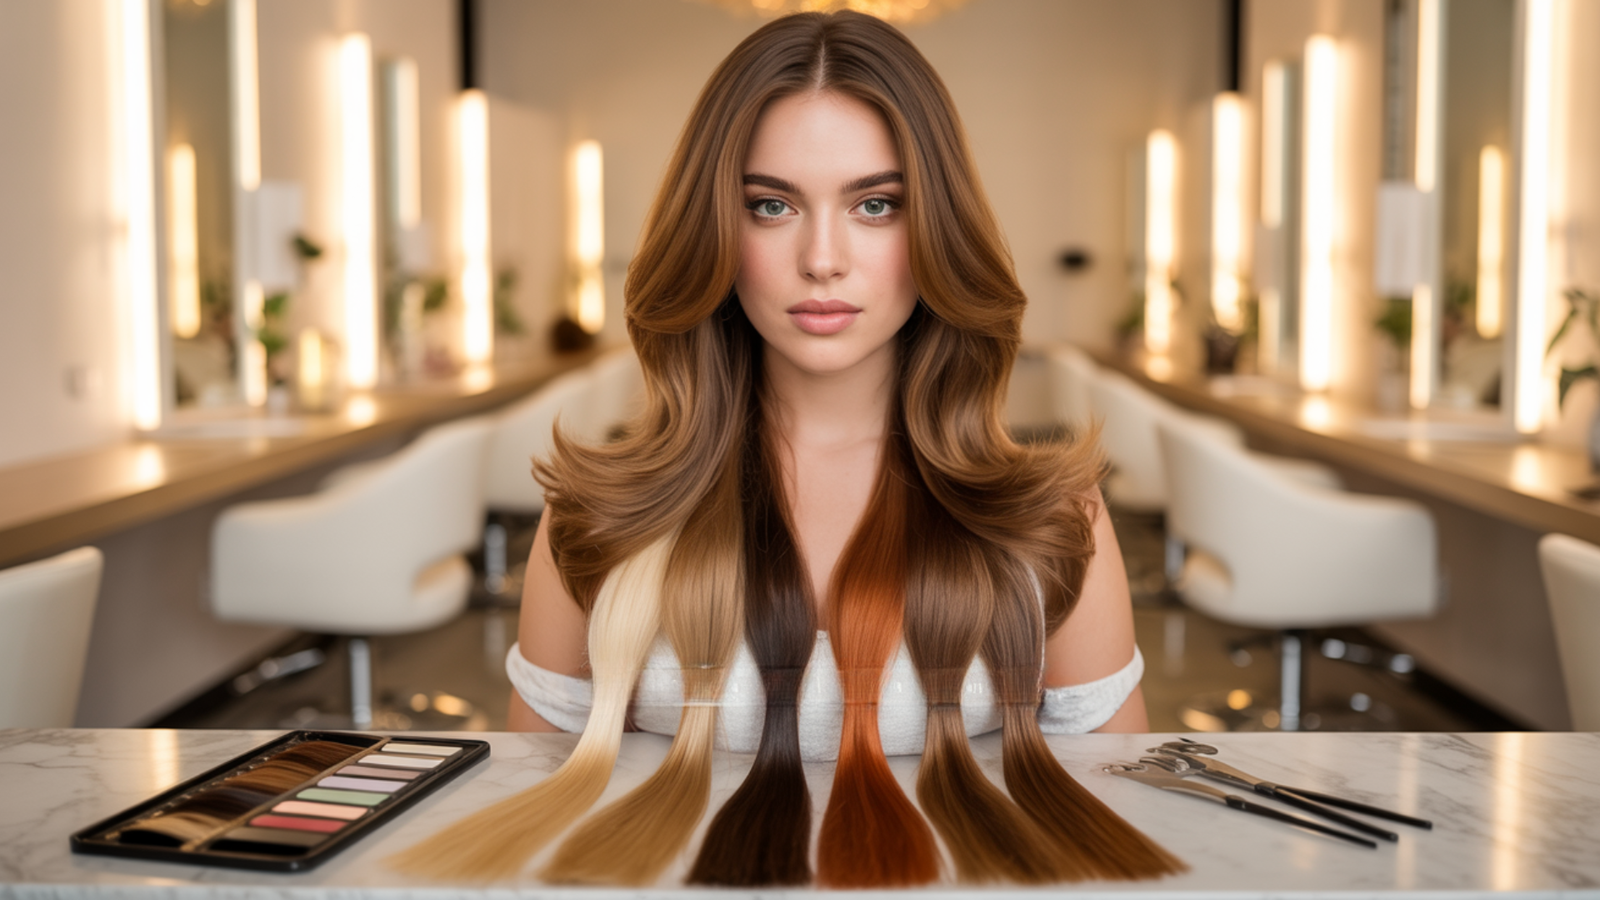
- Choosing the Right Hair Extensions: Pick extensions that match your natural texture, length, and color, and opt for quality hair to avoid frizz and a synthetic look.
- Hair Types for Styles: Pre-braided box braid hair works well for singles, Havana Mambo Twists for twists, and bulk crochet curls suit braidless or curly styles.
- How Much Hair to Buy: A Full head of singles needs 6 to 7 packs, cornrow singles combo 4 to 5 packs, jumbo braids 3 to 4 packs, and bulk curls 2 to 3 packs.
- Always Buy Extra: Keep an extra pack or two to avoid running out mid-install. Unopened packs can be returned or saved for next use.
Preparing Your Natural Hair
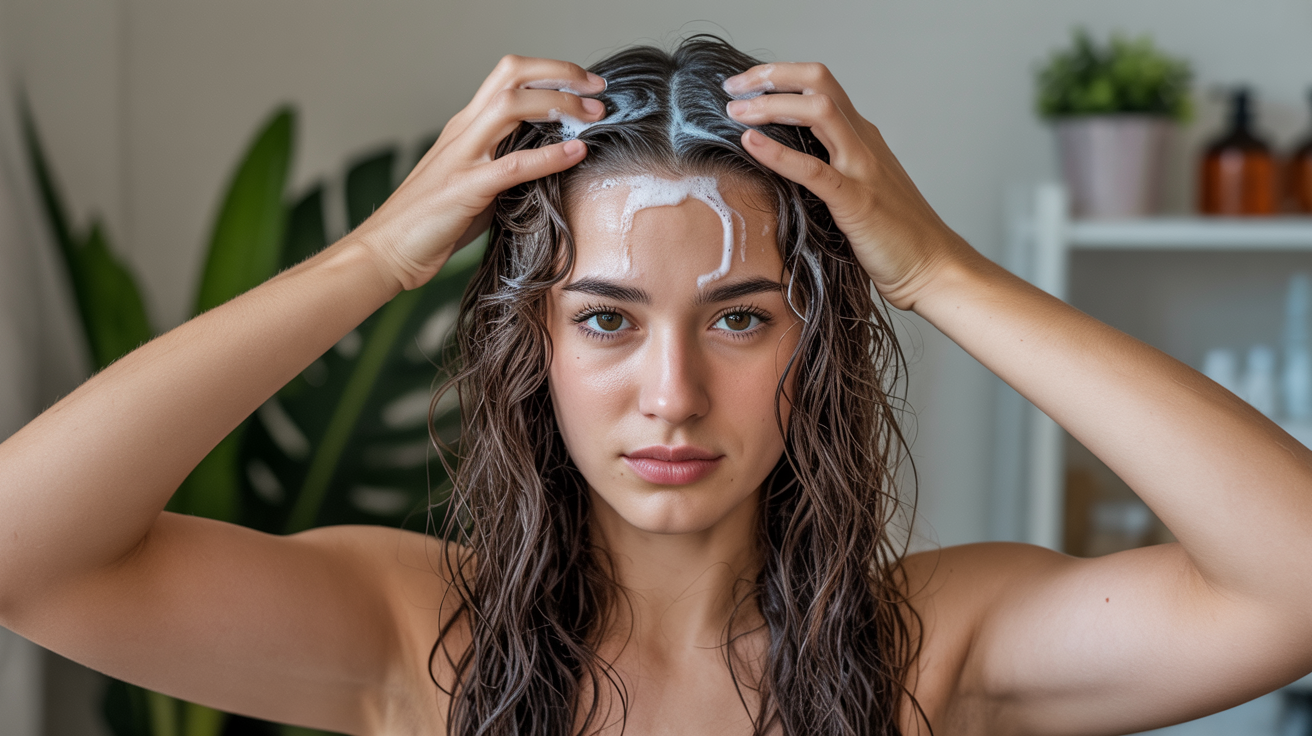
Prep work is crucial for a smooth install. Wash, deep condition, detangle, and moisturize your hair thoroughly, trimming split ends if needed. Starting with clean, hydrated hair prevents discomfort under braids for weeks.
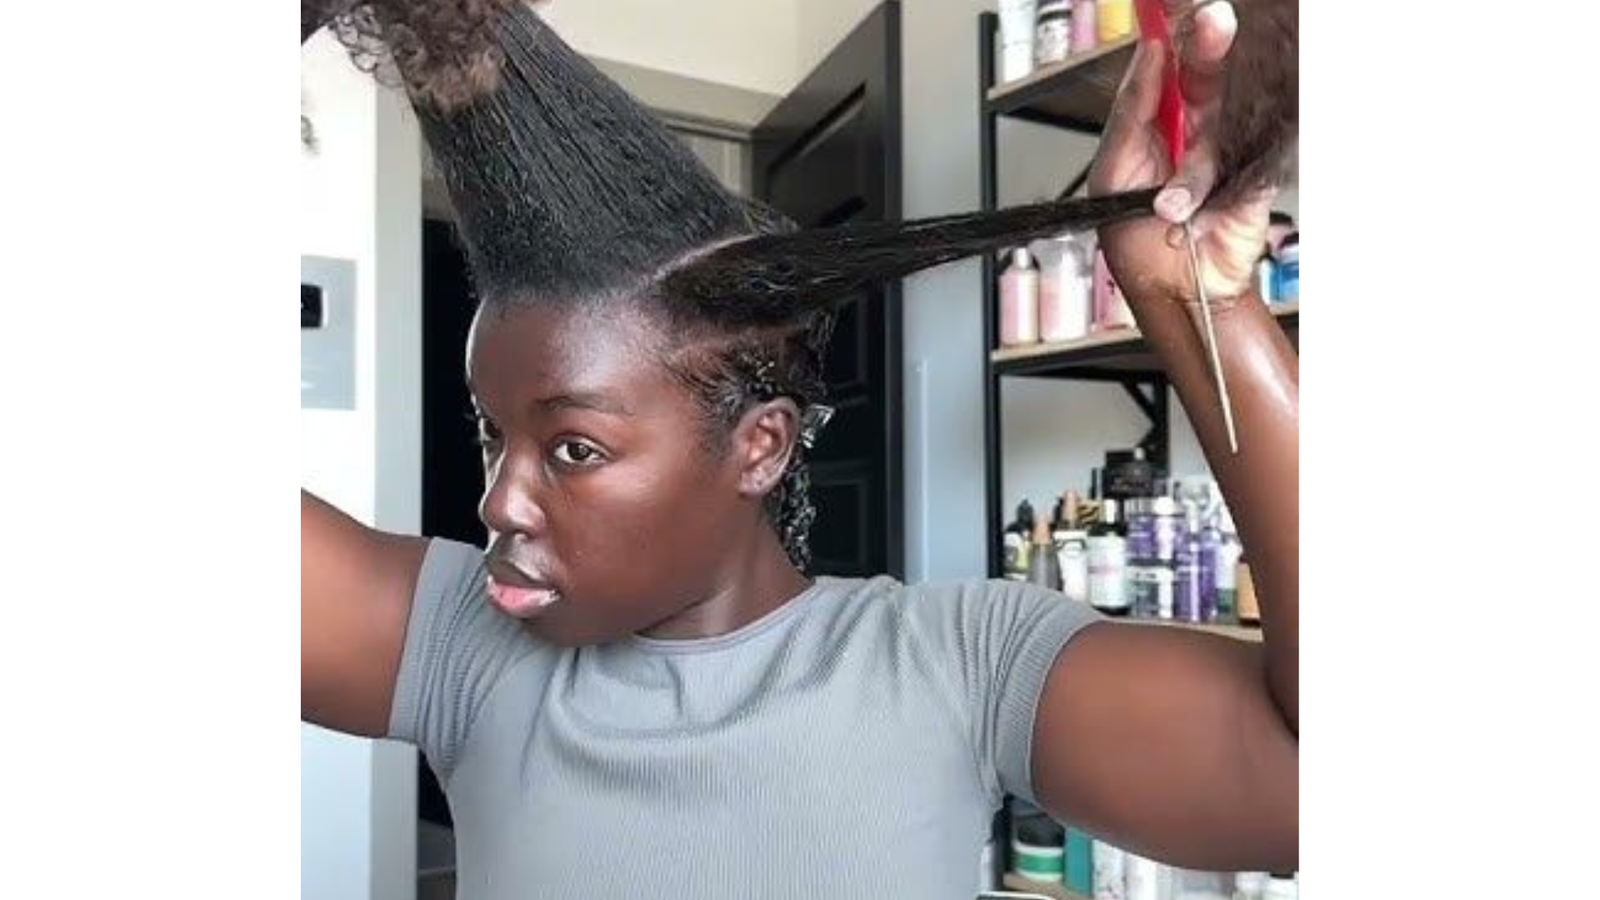
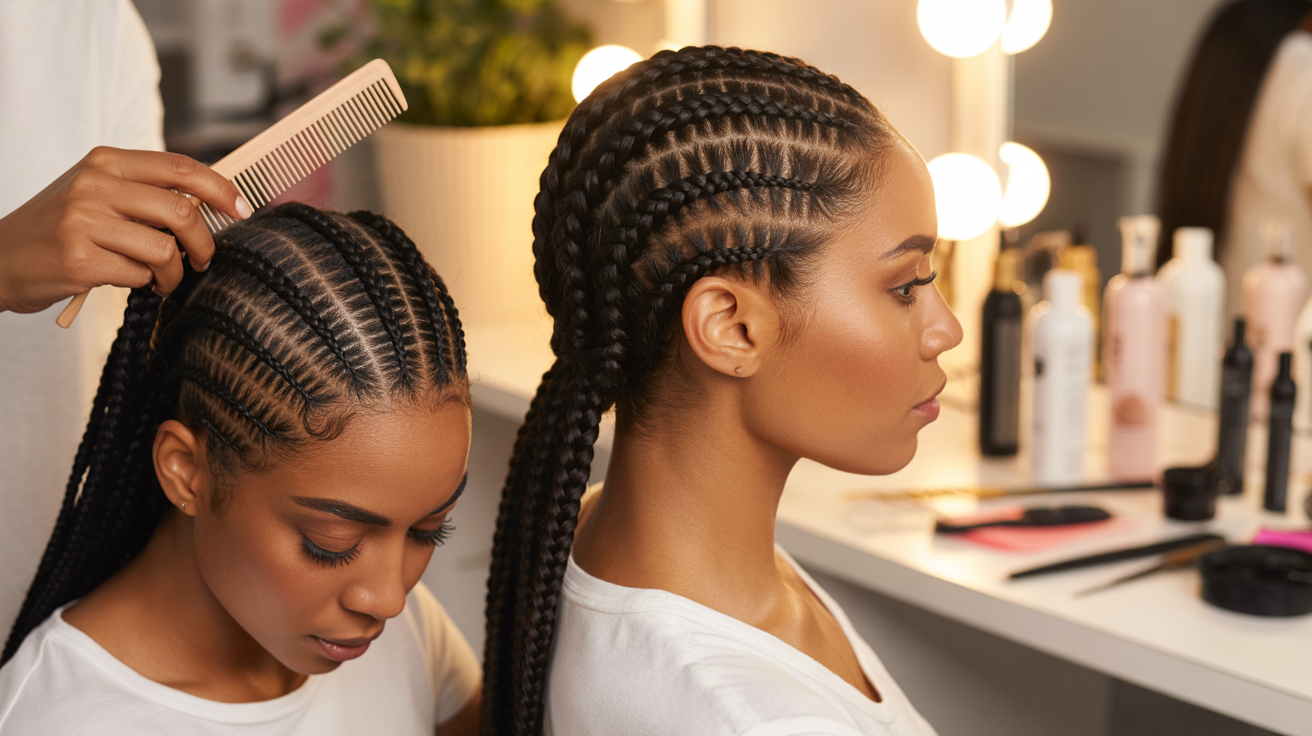
For the base, divide hair into sections according to your chosen method. Use hair ties and edge control for sleek parts, cornrow the back for combos, or create individual braids for singles. Uniform sections ensure a neat, consistent look.
Plan your invisible parts before installing extensions. Leave part sections free from braids, keep them narrow and clean, and apply edge control for a seamless, natural finish.
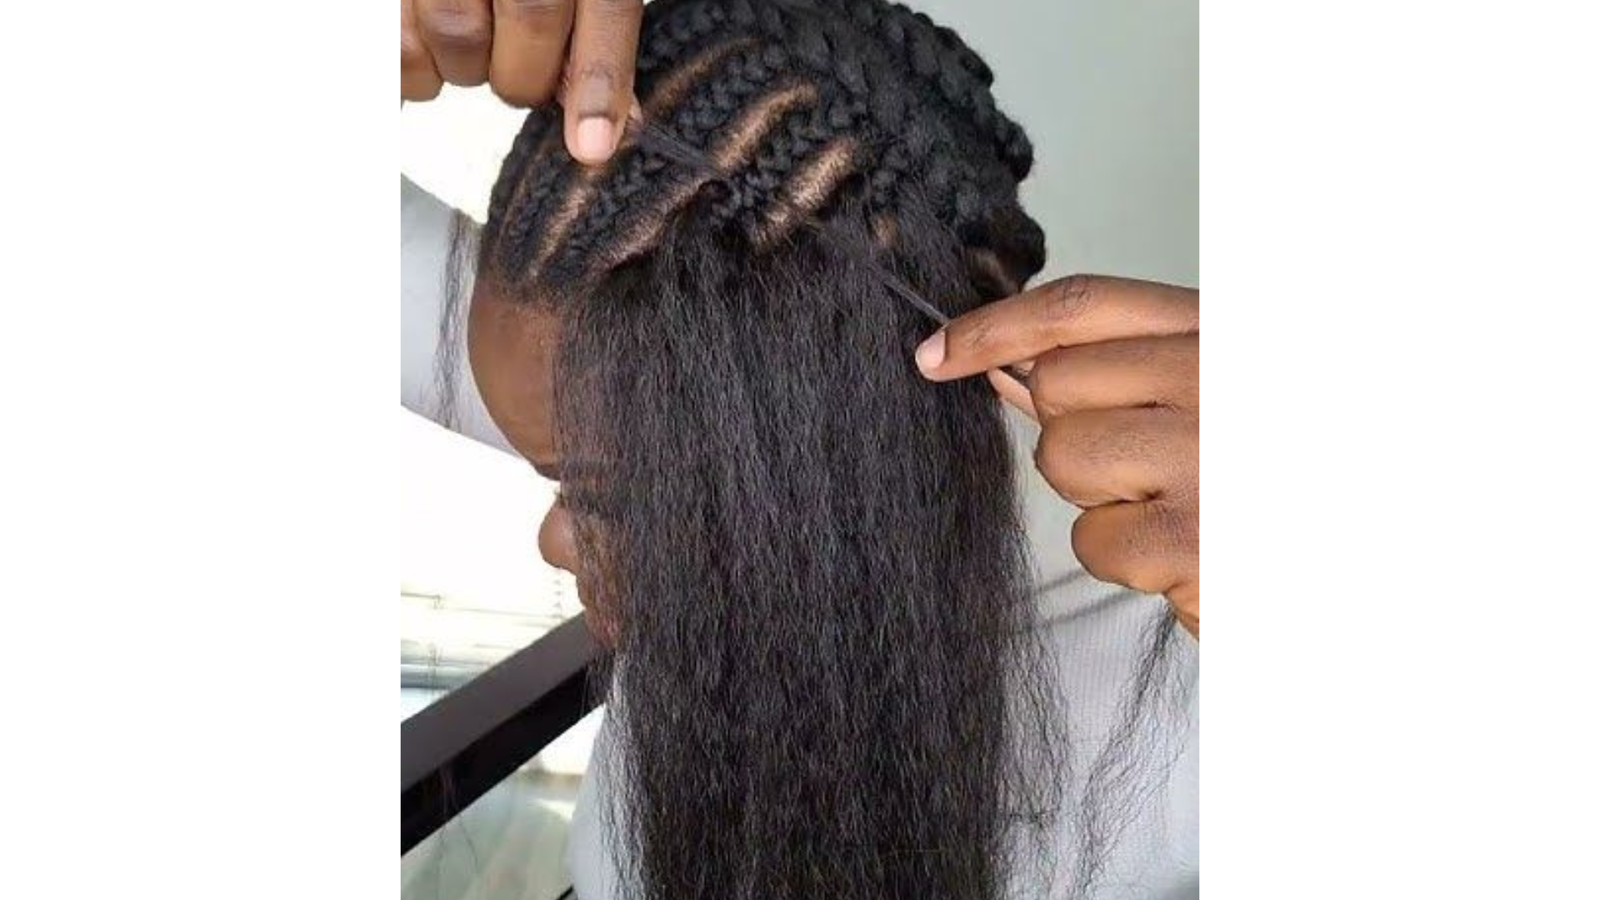
Step by Step: Invisible Crochet Braid Pattern
Creating an invisible crochet braid pattern involves strategic cornrowing that hides the attachment points while securing the hair for a natural, seamless look.
Step 1:Prep and Section Hair
Clean, detangle, and stretch the hair. Leave out a small section at the front and part area to cover crochet knots.
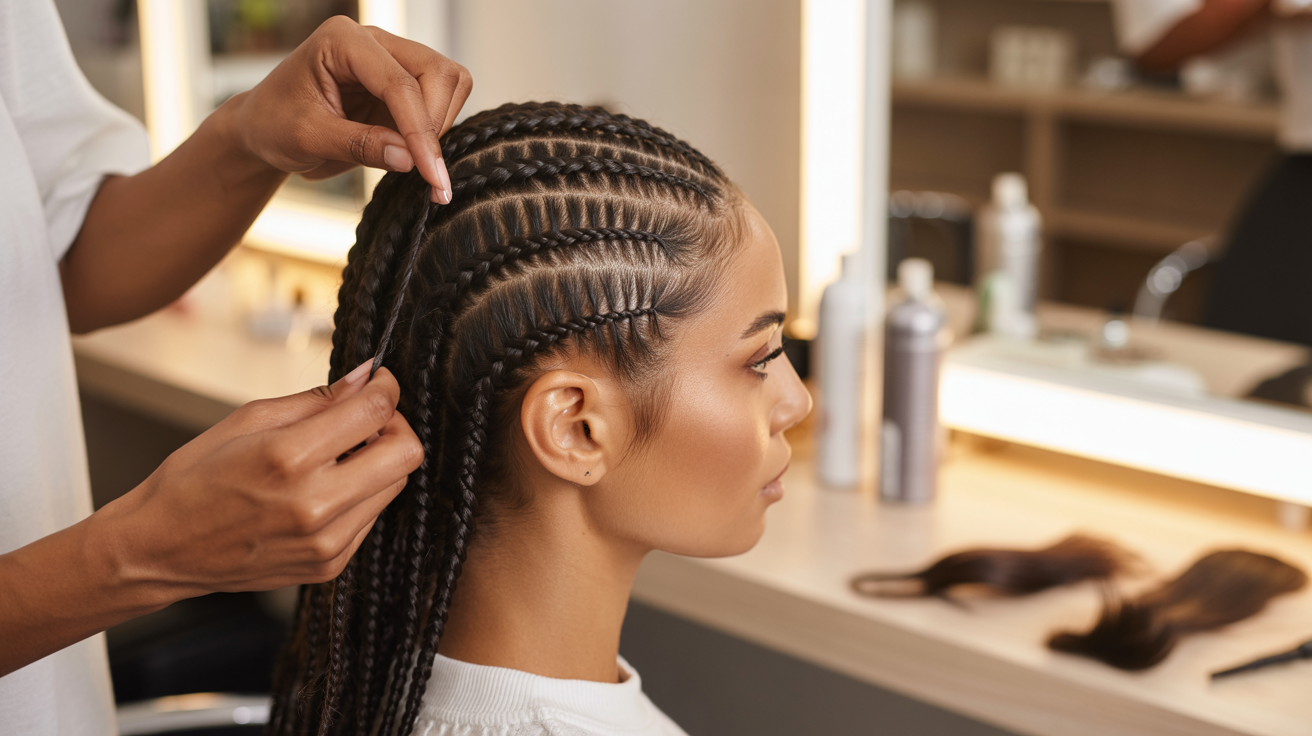
Step 2: Braid the Foundation
Cornrow the remaining hair straight back, keeping braids small and flat near the hairline.
Step 3: Secure the Cornrows
Tuck or sew down braid ends so they lie smoothly under the crochet hair.
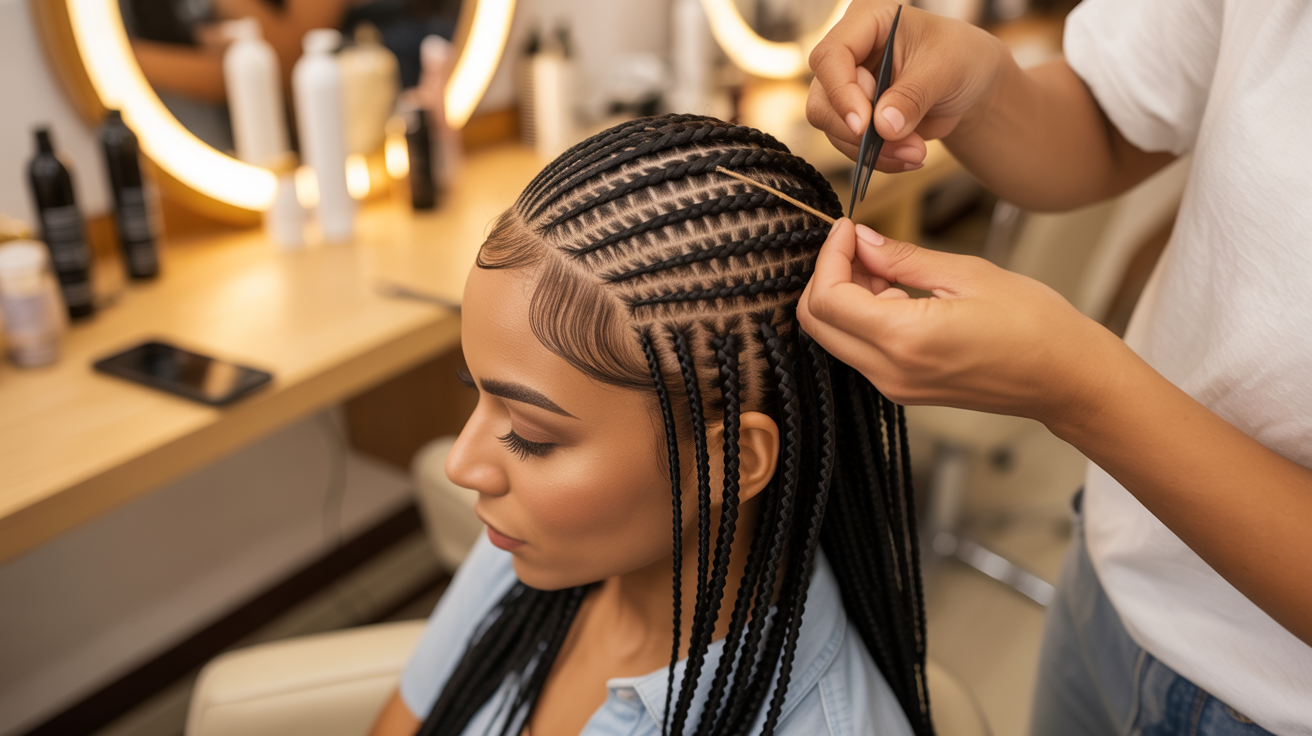
Step 4: Install Crochet Hair
Start crocheting one to two rows behind the leave-out. Use single strands near the front and fuller pieces toward the back.
Step 5: Blend and Finish
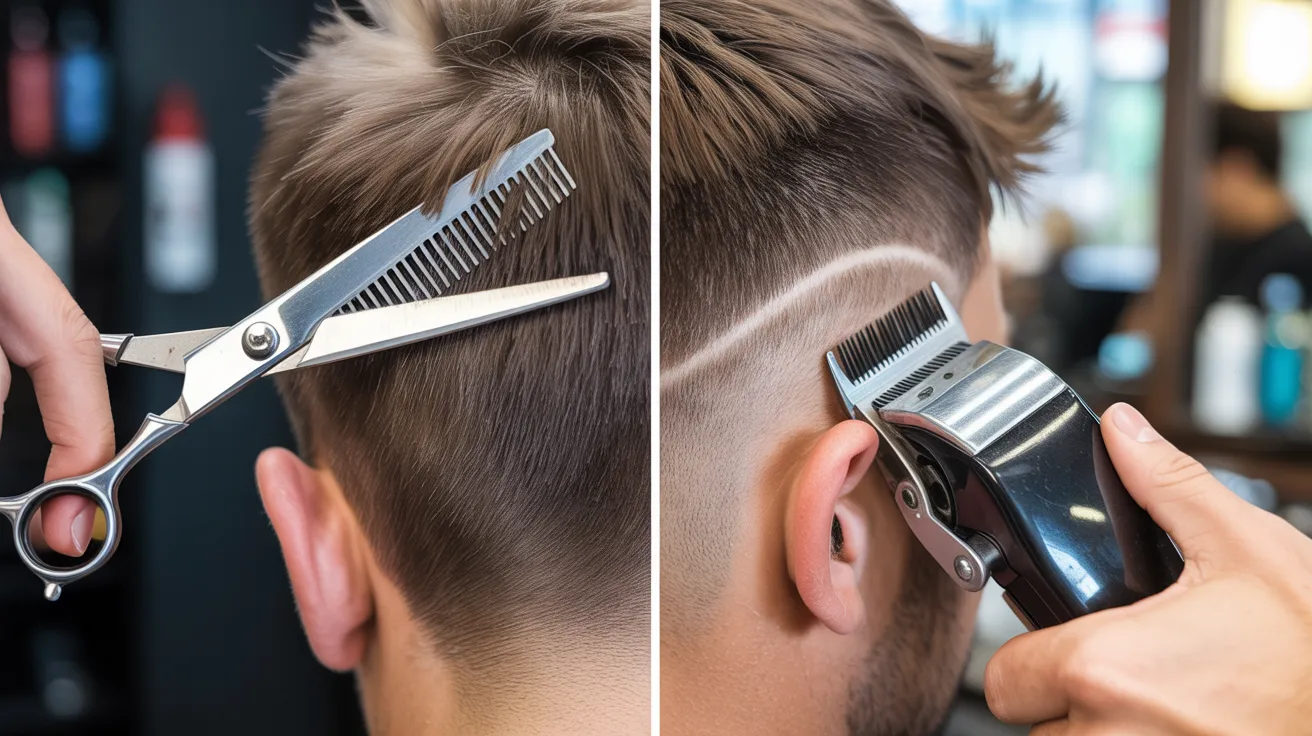
Style the leave-out over the front area to hide knots, then trim and shape the hair as needed.
Styling Your Invisible Crochet Braids
One of the best parts about invisible crochet braids? The styling options are endless. Your braids move naturally, so you can actually do different styles without them looking stiff or fake.
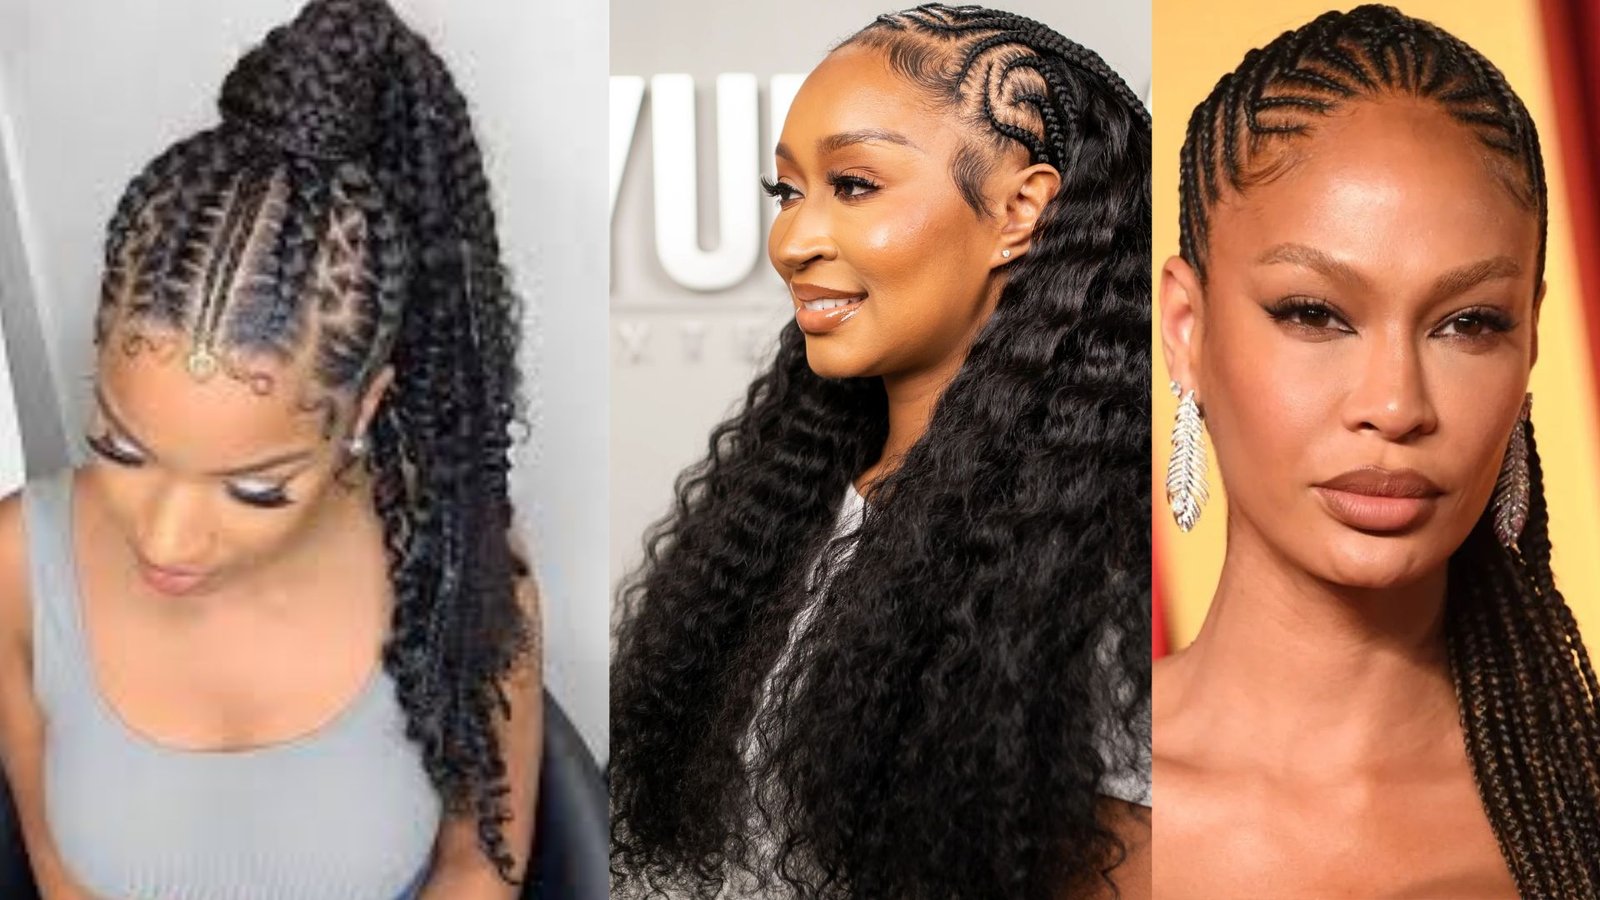
- Everyday Styling: Wear your braids in high ponytails, low buns, side swoops, or simple down styles without stiffness or pulling.
- Updos and Fun Looks: Try half-up styles, top knots, space buns, crown braids, or braided updos for special occasions.
- Part Versatility: Switch between middle parts, deep side parts, zigzag parts, or slicked-back looks with no base showing.
- Natural Movement: Invisible crochet braids flow naturally, so styles look relaxed and comfortable instead of tight.
- Accessorize Smartly: Add beads, cuffs, hair jewelry, scarves, flowers, or shells to boost style without overdoing it.
How to Maintain Invisible Crochet Braids?
Good maintenance means your braids last 4 to 6 weeks instead of looking rough after 2 weeks. These simple habits make a huge difference.
- Moisturize Regularly: Apply leave-in conditioner to base braids every 2–3 days and seal with a light oil. Focus on your natural hair and scalp, not just the extensions.
- Protect at Night: Sleep with a satin bonnet or scarf, or use a satin pillowcase. Gather long braids loosely to reduce friction and frizz.
- Clean the Scalp Gently: Wash by applying diluted shampoo to the scalp only. Massage with fingertips, rinse well, and dry fully before styling.
- Manage New Growth: Moisturize new growth after 3–4 weeks and touch up roots if needed. Remove crochet braids within 6–8 weeks.
- Prevent Scalp Problems: Avoid heavy product buildup and tight braids. Address itching, flakes, or pain immediately to protect your hairline.
Removal Methods for Single Braid Crochets
Removing single braid crochets requires careful cutting of the crochet knots and gentle unraveling to protect your natural hair underneath from damage.
Method 1: Cut and Unravel (If You’re Not Reusing the Hair)
Cut the extension close to the base where it attaches to your braid, then gently unravel the extension until the attachment point is visible. Carefully unloop the extension from your natural braid.
Once the extension is removed, slowly unravel your natural braid. Apply oil or conditioner as needed to loosen tangles and reduce breakage.
Method 2: Gentle Pull Out (If You Want to Reuse Extensions)
Locate where your natural hair ends inside the extension and begin pulling your tucked braid out from that point. Always work from the tips toward the base to avoid snagging.
Gently slide your braid out of the extension, then unloop or unknit the extension carefully. This keeps the extension intact and reusable for next time.
Post Removal Hair Care
Expect some shedding after removal, as this is normal following a protective style. The hairs you see were shed daily but stayed trapped in the braids.
Wash and deep condition your hair, trim split ends, and rest your hair for 1–2 weeks. Add a protein treatment if needed, moisturize well, and check for any thinning before reinstalling.
Troubleshooting Common Issues
Even with perfect technique, sometimes things go wrong. Here’s how to fix the most common problems.
- Bulky Bases: Your natural braids may be too thick. Use smaller, flatter braids and match braid size to the extension size to reduce bulk.
- Loose Extensions: Knots may be too loose or slipping. Pull extensions through securely and apply edge control if your hair is silky.
- Unnatural Hairline: Singles may be placed too far back or too densely. Add fewer extensions closer to the real hairline and blend carefully.
- Visible Natural Hair: Sections may not be fully hidden. Rework exposed areas using a tuck or threading method and move slowly through each braid.
- Tight Scalp or Frizz: Pain means too much tension. Remove and redo immediately. Control frizz with mousse, night wrapping, and minimal moisture exposure.
Pro Tips for Best Results
These tips come from experience, both mine and from stylists who do invisible crochet braids professionally.
- Save Installation Time: Prep all sections in advance, keep tools nearby, and practice hiding techniques on back braids first. Split the process into two days if needed.
- Work Smarter, Not Harder: Use a cornrow-and-singles combo, get help for back sections, and avoid stopping mid-install to watch tutorials.
- Create a Natural Finish: Match extension texture to your hair, use fewer extensions, and focus on the hairline and part areas for realism.
- Make Braids Last Longer: Moisturize every 2–3 days, protect hair nightly with satin, and limit restyling and moisture exposure.
- Avoid Common Mistakes: Skip tight rubber bands, heavy products, and long wear past 8 weeks. Never ignore tension, dryness, or discomfort.
Cost Breakdown
Let’s talk money. Invisible crochet braids can be budget-friendly or an investment, depending on your choices.
| Category | DIY Installation | Salon / Stylist Installation |
| Hair Cost | $30–$60 for 5–7 packs | Usually included or bought separately |
| Tools & Products | Crochet hook $3–$8 (one-time), edge control $5–$10, accessories $5–$10 | Included in service |
| Total Cost (First Install) | $45–$90 | $120–$300+ |
| Future Installs | Lower cost if extensions are reused | Full service costs each time |
| Time Required | Depends on skill. Can be split over 1–2 days | 2–4 hours in the chair |
| Cost Per Wear (4–6 weeks) | ~$1–$3 per day | ~$3–$10 per day |
| Reusing Extensions | Yes, if removed carefully | Usually not reused |
| Overall Value | Lowest long-term cost | Convenience and professional finish |
Conclusion
You now have what you need to create invisible crochet braid patterns that look completely natural. The key is preparing your cornrows properly, using the right technique to hide knots, and choosing crochet hair that matches your texture and color. When done correctly, it is hard to tell where your natural hair ends and the extensions begin.
This method takes a little more time than regular crochet braids, but the seamless look is worth it. Keep your scalp moisturized and protect your braids at night. With proper care, they can stay neat for four to eight weeks. Start with simple patterns and work up to more complex designs as you get comfortable with the technique.
Practice makes the difference between obvious attachments and invisible braids. What pattern are you trying first? Share your results or questions in the comments below.
Frequently Asked Questions
What are invisible crochet braid patterns?
Invisible crochet braid patterns are techniques that hide the knots where crochet hair attaches to cornrows. The method creates a natural look by concealing attachment points under hair, making it appear like braids are growing from your scalp rather than being added in.
How long do invisible crochet braids last?
Invisible crochet braids typically last 4 to 8 weeks, depending on hair texture, installation quality, and maintenance routine. Proper care, like moisturizing your scalp, protecting braids at night with a satin bonnet, and avoiding excessive manipulation, helps them stay fresh longer.
Can you do invisible crochet braids on short hair?
Yes, you can do invisible crochet braids on short hair as long as you have at least 2 to 3 inches of natural hair. This length is enough to create small cornrows as the foundation for attaching crochet hair invisibly without visible knots.
What is the best crochet hair for invisible braids?
The best crochet hair for invisible braids is pre-looped hair that matches your natural texture and color. Look for quality synthetic or human hair that blends seamlessly. Kanekalon and Toyokalon fibers work well because they’re lightweight and maintain their pattern without tangling.
How do you maintain invisible crochet braids?
Moisturize your scalp with lightweight oil 2 to 3 times weekly. Wear a satin bonnet or scarf at night to prevent frizz. Wash gently every 1 to 2 weeks using diluted shampoo on your scalp. Avoid heavy products that cause buildup and limit heat styling.